Hi Everyone!
I wanted to play a little catch-up before heading off in just 7 hours (why am I not sleeping?) for CHA-Summer in Chicago!
First, for those of you still stalking your mailman for your Trilogy kits, give him a few more days. We received our Gameboard shipment today, rather TONIGHT at 8:50 p.m. (three days later than expected)! I have packed as many as I can at this "eleventh hour", and my dear husband Bryan is going to try to get the remaining kits packed while I am gone!
Of course, he will be trying to keep all three kids (remember, one is only 4 months old!) happy (and alive), and even has to go to a kiddie birthday party Saturday. Wouldn't you love to be a fly on the wall??? I know he will do his best and will make me proud :)
Because you have been so patient, you will be generously rewarded with a free "mini kit" included in your shipment. Our way of saying thanks for being patient while one calamity after another happened! Honestly, when FedEx and UPS both "misplace" packages in the same week, who do you turn to???
Well, while we are gone to CHA, I wanted to leave you with something to think about... like the August kits! So even though it isn't even preview week yet, I am going to go ahead and spill the contents of the Hybrid, and hint at the Trilogy (I do have to save SOMETHING for preview week!)...
Drumroll please...
Your August Hybrid kit will include 9 yummy papers from the Tropics and East of India lines from Cherry Arte, along with their incredible new rub-ons!
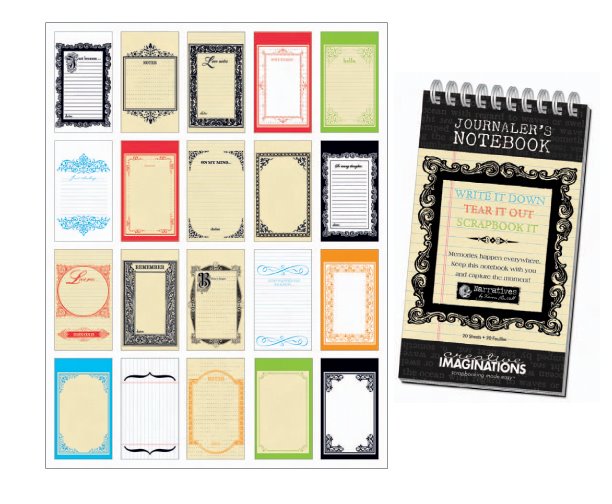
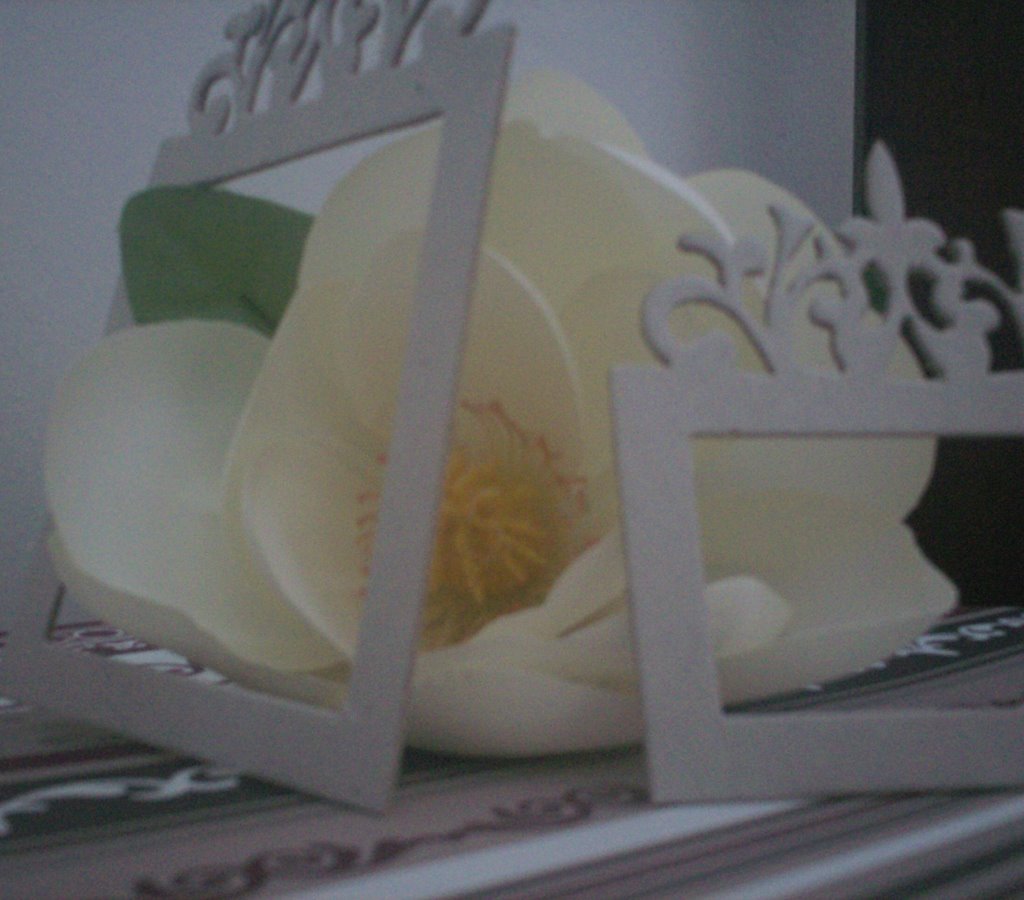
To complement these beautiful papers will be Biscuit Board Frames from Delish Designs, a Heidi Swapp She chipboard alphabet in white, and a lush cocoa-edged ribbon. Add to that a generous assortment of buttons, brads, clips and 7 gypsies red arrow photo turns and you have one fabulous kit!
Whew!
And now, I'm off to finish packing and catch a few hours of sleep before I leave for the airport at 5 a.m.! UGH! Check back for updates from the show... and to see what we have planned for the Fall!

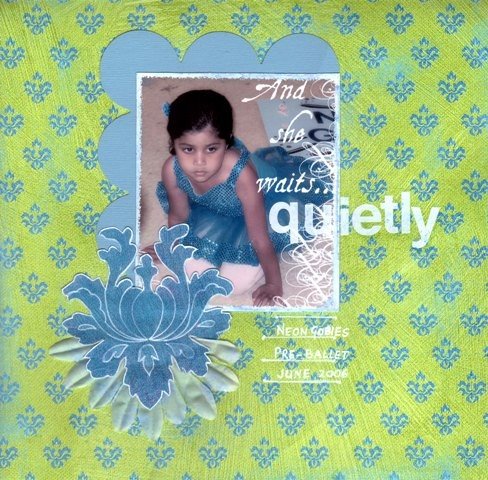
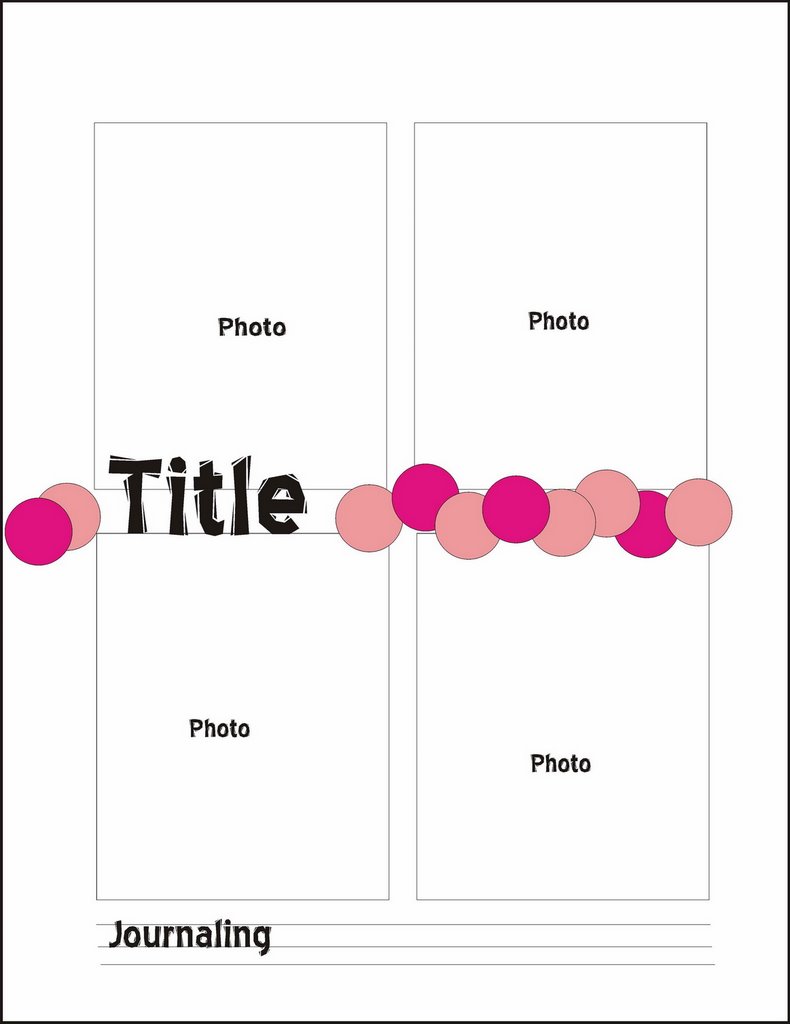
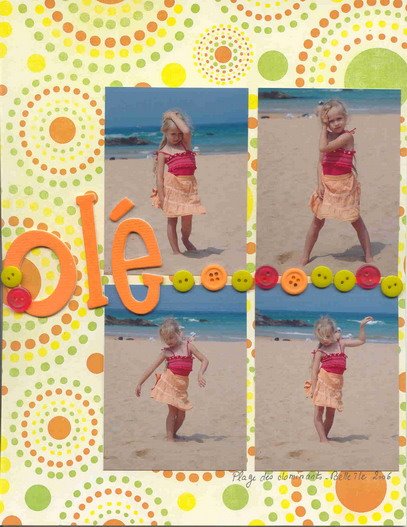
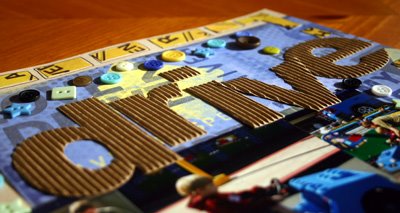
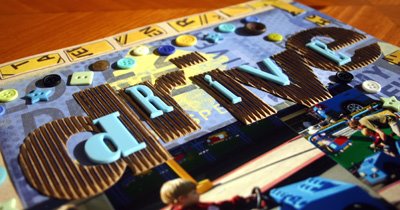
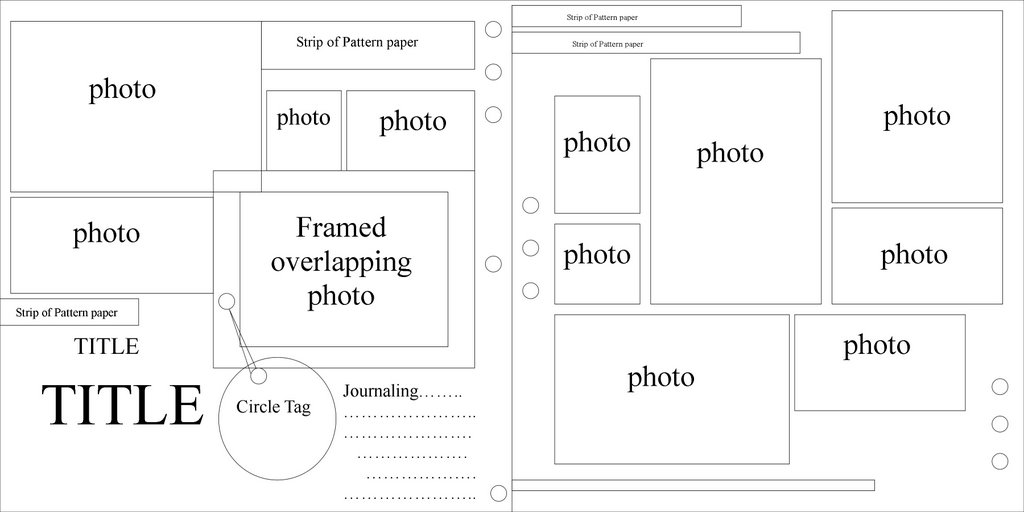
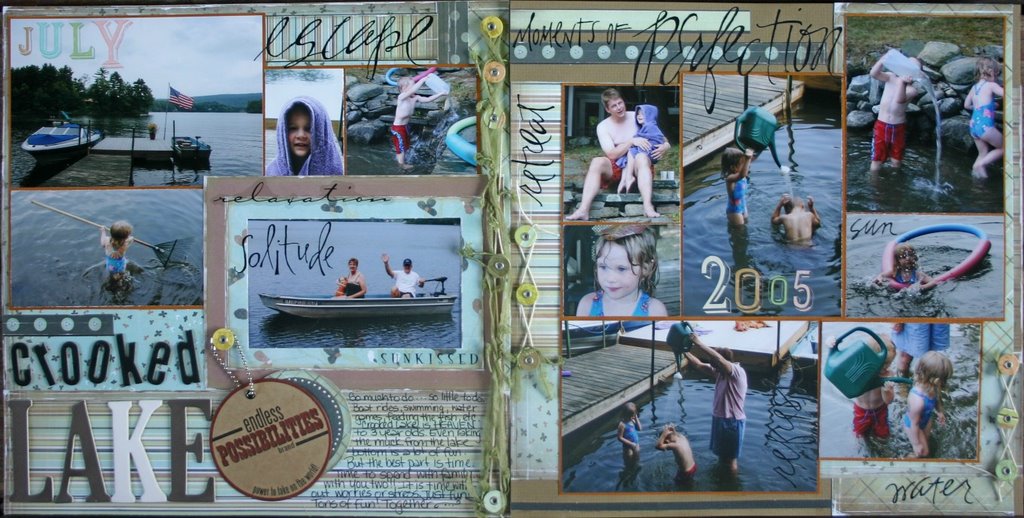
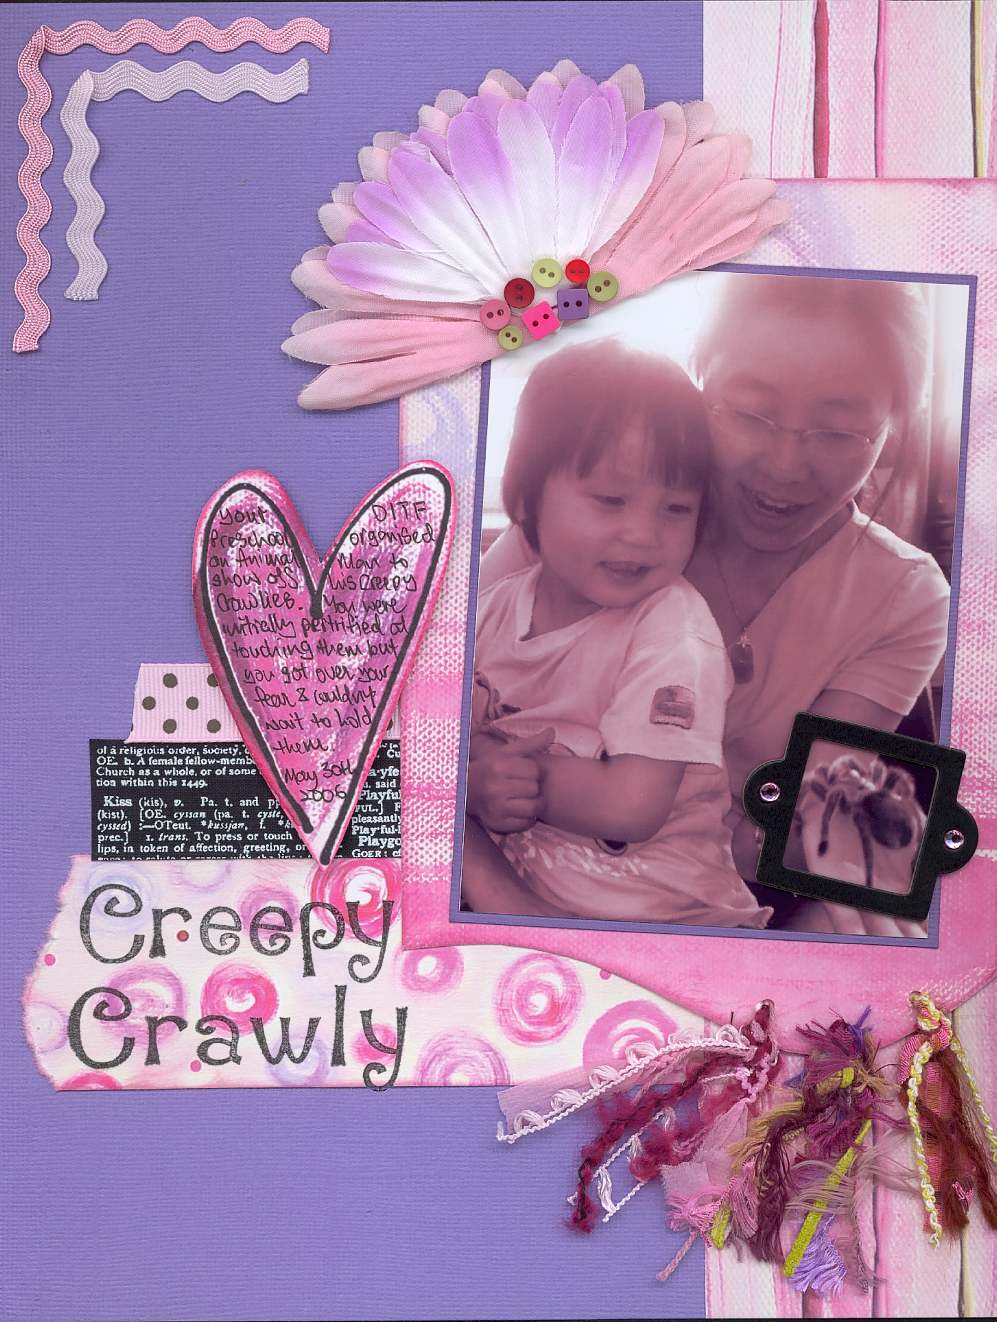
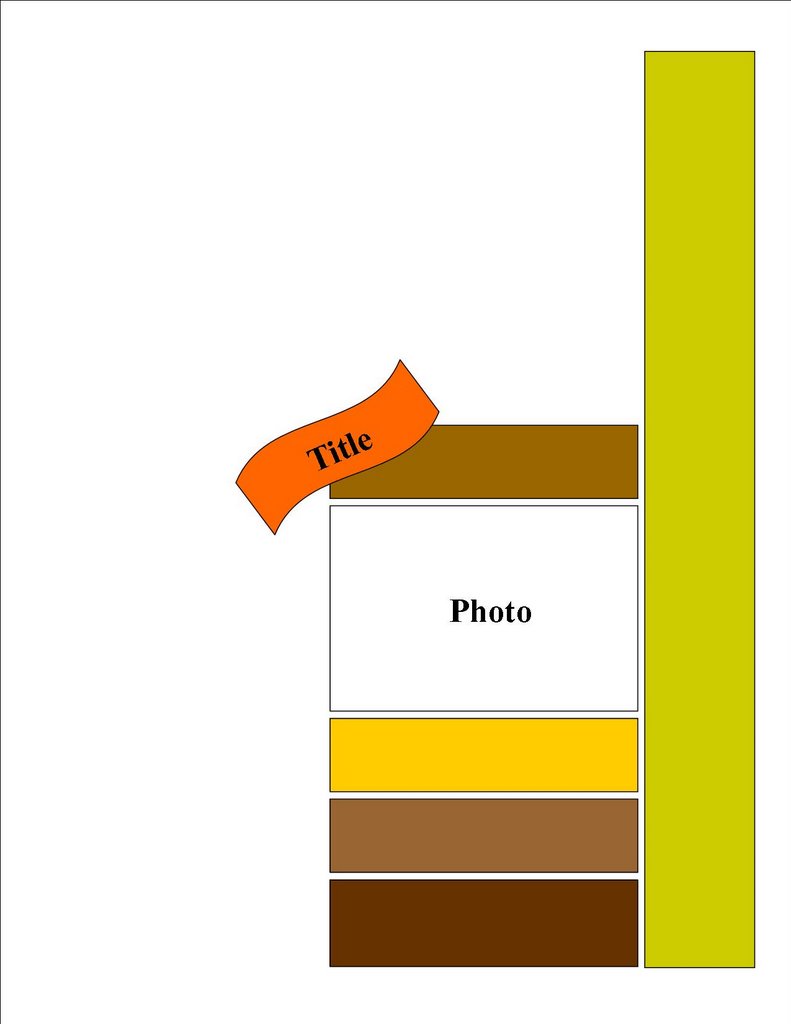 And here's my interpretation of the sketch.
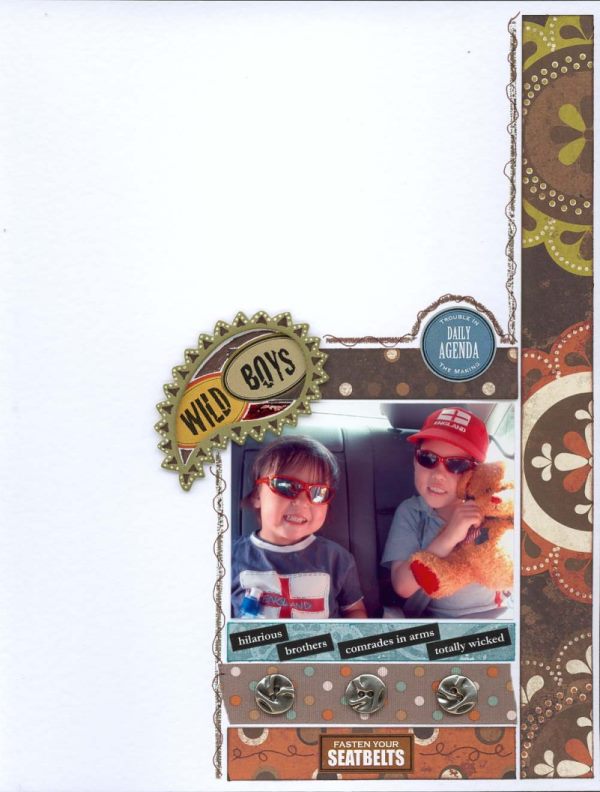


 Congratulations ladies!


