Technique: How to add shaped journaling with your computer
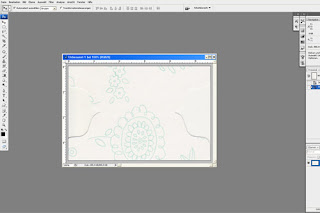
 Step 1 First scan the patterned paper or shape on which you would like to add your journaling. The resolution should be at 300dpi. You can also try to recreate the shape in your graphic program, but I prefer scanning it in, because it is much faster. Here I scanned in two different shapes: first a tab shape, then a scalloped circle
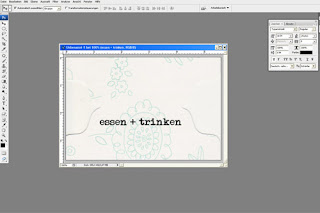
 Step 2 Choose a font and write your journaling/title, etc. on it. Important: Write them on a new layer if your graphic program doesn't do this by itself!
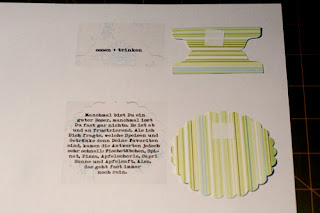
 Step 3 Print them out, remembering to print the shape you scanned first too. Then adhere your original shapes directly onto the printed shape, using removable adhesive.
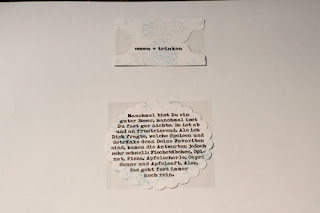
 Step 4 Lay the paper with the shapes on it back in your printer and print it again. REMEMBER! You will need to delete the background so that only the text is printed this time!
You can use this technique on any layout or project. Just scan the parts you want to add your text onto, add the text with your graphic program and print it.
Other examples of this are my 'Sweetie' layout in week 3 or my 'Flying High' layout in week 4.
In each case, I created my page first using removable adhesive. Scan the entire layout in 300 dpi, then remove all of the pieces except the one you are printing on, and print directly onto the page. Finish your layout by re-attaching the other elements with permanent adhesive.
_____________________________________________________________


1 comment:
Great tutorial! I can't wait to try this.
Post a Comment