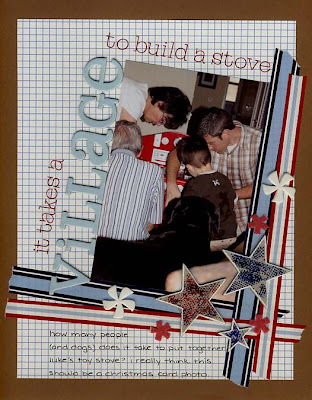
So, I tried using colored foils on my chipboard stars and I loved the effect! You will need a package of foils, mine are from Pinecone Press. You will also need an adhesive dot runner, I use the Herma Dotto by EK Success. Here’s the process:
1. Roll adhesive dots all over your chipboard piece. Don’t worry if they don’t adhere perfectly on every bit of your chipboard; this will give your finished piece a textured, distressed feeling.
2. Select a colored foil and place it shiny/colored side UP over the adhesive dots.
3. Rub over the foil (I use a bone folder but you could use a popsicle stick) to transfer the color to the chipboard.
4. Carefully peel the foil off the chipboard and there you have it! A foiled chipboard piece!

I was really happy with the way my foiled stars looked. They have a glittered feel, without the mess of glitter! But I wanted to define the edges, so I used a white Sharpie paint pen to outline the edges. It worked great; the Sharpie went over the foil without any problem.

If you’re like me, you’ve got tons of chipboard hanging around your stash. I hope you’ll give this technique a try! And, if you’ve got any great chipboard techniques, please post them in the Homegrown forums. I’m always looking for something new to do with chipboard!


2 comments:
Love that technique, thanks for sharing, I can't wait to try it!!
Great idea. Thanks for sharing. I'll be giving this one a try. I love chipboard.
Post a Comment