

June Kit Content
1 sheet of each of the following papers from the Gin-X Take a Vacation collection:
Eddie's Homestead
Aunt Edna's Patio
Rusty Rings
Super Sports Wagon
Wally Moose Tracks
Large Ball of Twine
2 sheets Guacamole cardstock
2 sheets Applesauce cardstock
1 set Take a Vacation Photo Corner Coasters
1 Spiced Marmalade Ranger Distress Ink inkpad
1 Heidi Swapp clear stamp: Favorite
1 box Pressed Petals Lime Hip Chip Chatter
10-12 assorted Karen Foster Citrus Biggie Brads
3 Doodlebug Limeade Silk Flowers
2 yards ribbon
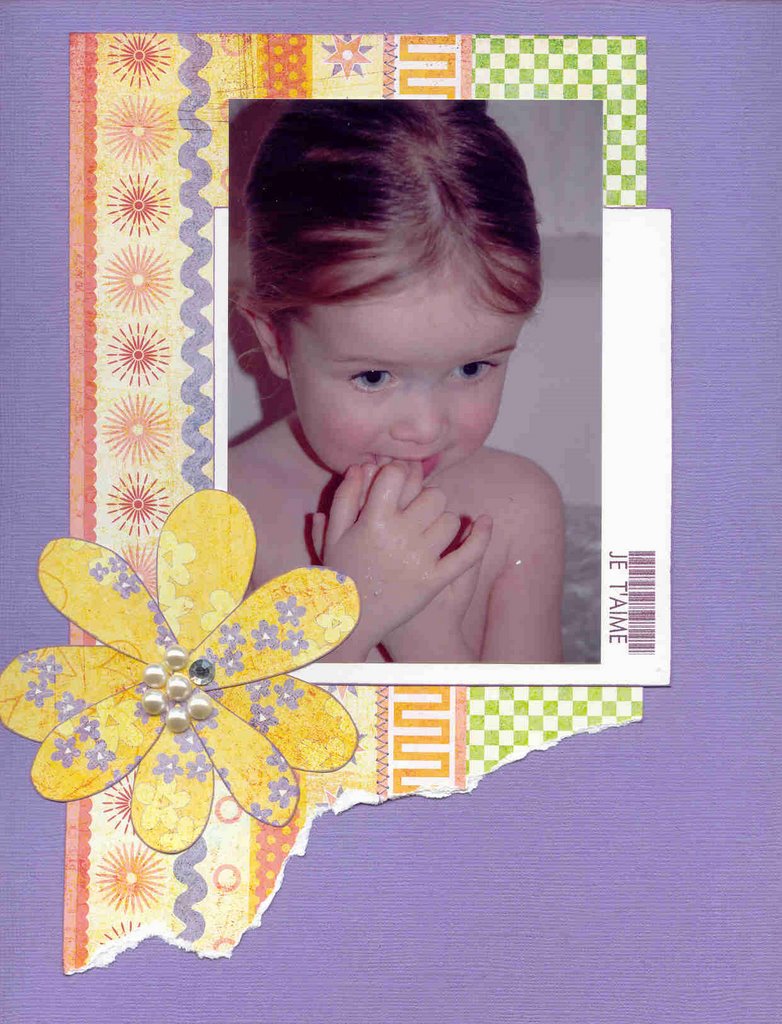
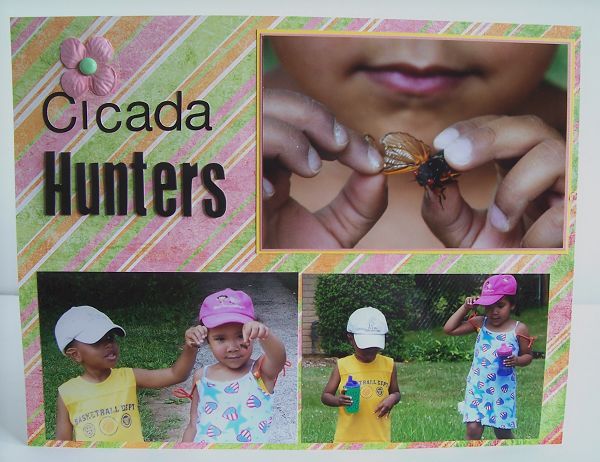
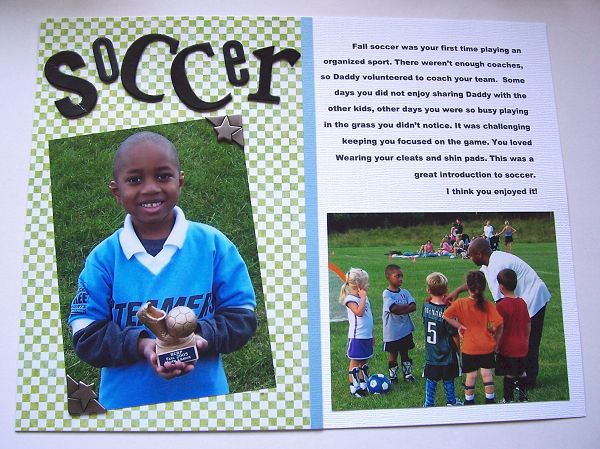
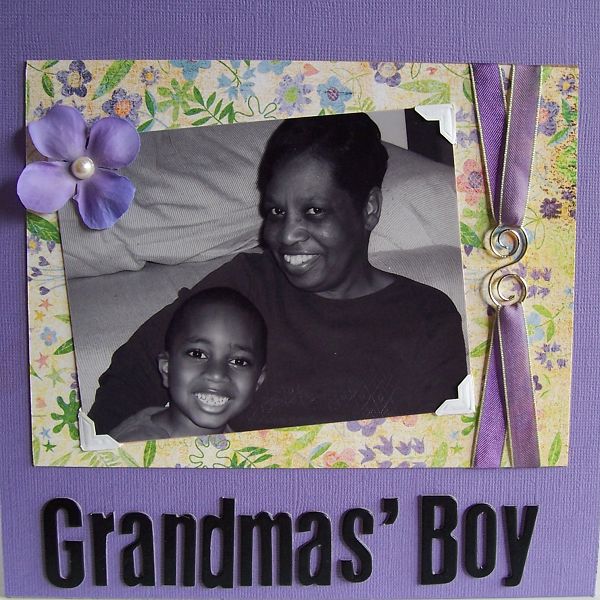
Design Team Projects
Are you anxious to see what our design team members did with the gorgeous May kit? Well, the wait is over! Look below for some amazing inspiration from Homegrown's talented designers! Be sure to post your creations in the Homegrown Member Gallery.
Audrey Neal :

Lori Gentile:


Meera D'Souza:


Severine Langlois:

Stacy Rogers:
Scrapped In Ink
by Audrey Neal
When it comes to the basic tools in your scrapper’s toolkit, one of the most versatile is ink. With a few ink pads and some common household items, you can create numerous looks for your pages and projects.
Ink pads come in various sizes and types, so make sure to find the type to fit your needs. Most dye-based inks are great for use on paper or chipboard, while more permanent solvent inks (such as Staz-on) will work on a wider range of materials, including acrylic surfaces.
When it comes to using your ink pads, you have two basic options: you can apply them directly to the surface you are stamping, or you can use a variety of tools. Direct-to-paper stamping can be accomplished in a number of ways. The most common is to hold the ink pad in your dominant hand and brush it lightly along the edge of your paper. Sand or distress the paper’s edge for a different look. You can also lightly swipe the ink pad across the surface of the paper, leaving streaks of color behind. For more complete coverage, press down with the stamp pad as though you are using a stamp. This can create an interesting technique, depending on the shape of your stamp pad.
Rubber and foam stamps aren’t the only tools that can be used with your stamp pads. Bottletops, pencil erasers, and homemade stamps cut from sponges or potatoes are other options. Take a piece of cardstock and fold it up several times, then ink the crease. Rub the crease along the edges of your paper to create a worn, weathered appearance. Experiment with other household items for a variety of cool looks.
The next time you pull out your scrapping supplies, I challenge you to experiment with the various looks you can get from some basic tools and a few inkpads. You’ll be surprised at how versatile this basic tool really is!
Sketch Challenge
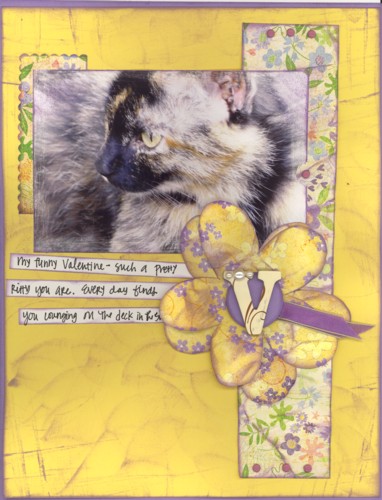
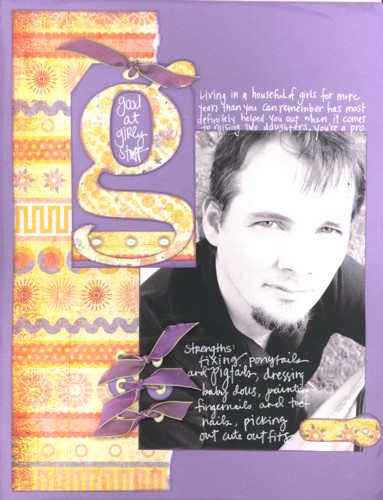
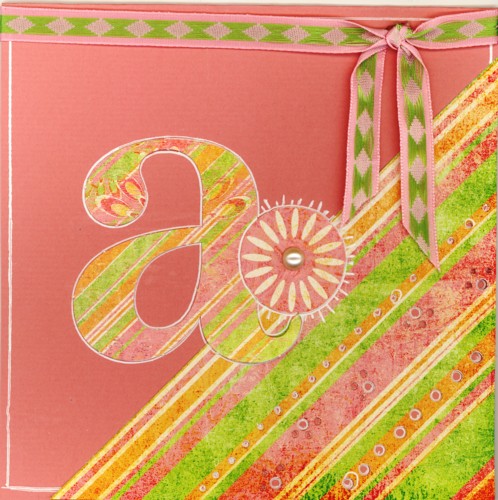
Enjoy these sketches by two of our talented designers, Severine and Stacy. The first is for a layout and the other is for a card:


Photoshop 101 - Adding Text to your Image
by Lori Gentile
With so many of us going digital, the way we scrapbook has changed. We now have a new world open to us. We can embellish and enhance the very focal pieces of our layouts, our photographs. There are so many fun techniques available for us to choose from; masks, brushes, color conversions, text addition and so much more. Traditionally, we have been taught to crop out any white space (or extra space) in our photographs. The theory is to tighten the view and help draw theeye to the image focal. With our new editing techniques, we can leave that extra space to create a dramatic canvas just begging to be filled with text, doodles, or whatever we can imagine, that won't take away from, but rather enhance our image focal. Let's start with adding text to an image. This is a simple and fun way to enhance your photograph. Once you start you aren't going to want to stop!
In Photoshop:*Open your image

*Click on the Horizontal Text tool (this should be in the tool box open to the left of your screen.) It should look like a capital "T" .
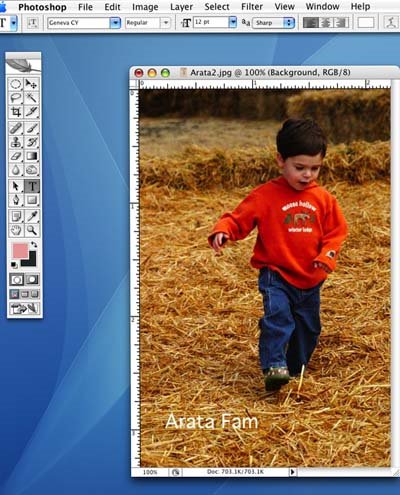
*Next click on the space in your photograph where you want your text to be.
*At the top of your screen you should see the optionsfor text. Choose the font and size you prefer. (refer to image 2)
*You will, also, see a little box of color at the top of your screen. If you click on that it will bring up your color pallet. You can select any color you like.(refer to image 2)
*Type your text and you're done!
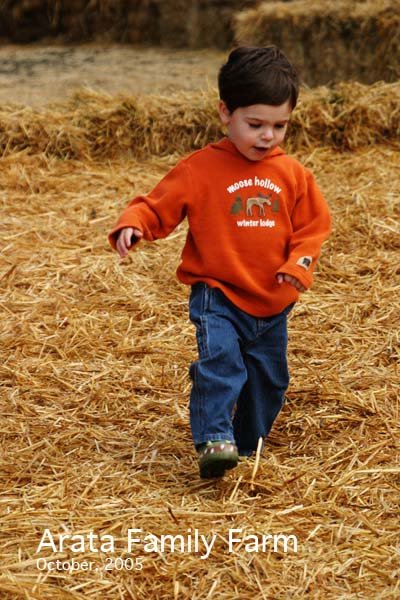
*Save your image and print. Congratulations! You have just added text to your photograph. Experiment with colors and sizes, and create titles or simple sayings. Now that you know how, you can be as creative as you like!
Contest Corner
By Meera D'Souza
Mocha Mondays:
Come feel some Mocha Love on Mondays at Homegrown. Each and every Monday we will be giving away a $5 Starbucks gift card to the top poster in our forum and gallery. We're going to be working on the honor system, so you'll need to keep track of your beginning and ending post count. At the end of the day, you can post to the thread in the Contest Announcement forum with your total post count for that Monday. The person with the most posts wins the gift card - simple as that! Good luck and happy posting! Tracy Rhodes won the first gift card! Congratulations to you!!!!
Fingerpainting Challenge:
Guest Designer Tia Bennett has challenged us to FINGERPAINT on our layouts! Are you game?
Create a layout and post it in the Fingerpaint Challenge Gallery. You could be a winner of a wonderful surprise package from Homegrown!
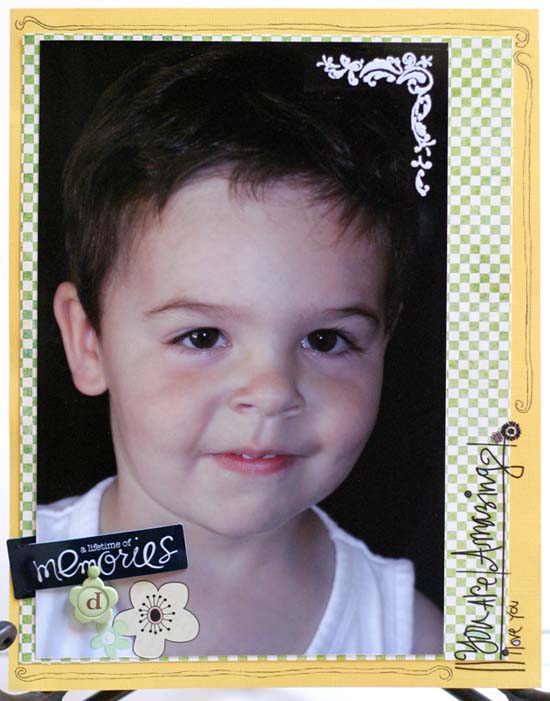
May Kit Contest:
Create a boy layout using the BG Baby Girl papers. Tough Guys wear pink! Yeah! So come on, create your best boy layout with the May kit and win a FREE July kit! We'll choose two winners to receive a FREE July Hybrid kit from the entries posted in the May Members' Gallery!
Get To Know Your Design Team

What is your full name and screen name? Jeanne Tamez (jeanne)
How old are you, if you don’t mind sharing? 35
What’s your guilty pleasure? hording supplies!
What music do you listen to while paper crafting? I don't- I listen to audio books and have a travel dvd player at my table for my netflix movies
Is there a product or technique that seems to find its way to most of your creations? silk flowers, different fonts, bazzill of course!
Do you have a favorite manufacturer (scrapbook related)? I really don't. I bounce back and forth between Basic grey, Chatterbox, and then the assorted finds.
Do you use rubber stamps on your paper crafts? What are some of your favorites? I do use rubber stamps...and foam stamps. Alphas, and for background designs. One of my current favorites right now are the stitch style stamps.
Who in the scrapbooking world inspires you? Everyone! I will find a little something from each layout that I like and want to try!
If you were a crayon, what color would you be? I would be the whole box! I love bright colors!


2 comments:
Great job on the newsletter, Charissa! It looks fantastic! I'm so happy I'm getting that yummy June kit, too! :)
fabulous tutorial and the DT layouts are gorgeous.
Loving this blog and cant wait to get the June kit.
Jak x
Post a Comment